
Set up Product Lifecycle Management
Setup has two halves that are enabled in different places. Product data is configured once from the app settings, and the product life cycle is enabled per development space. An administrator does both, then reruns the health checks to confirm nothing has drifted.
Configure product data
- From the main Apps menu, select Product Data, then App settings, to launch the health check.
- Run it and confirm it reports no errors. Use Repair all, or a single row’s repair action, where one fails.
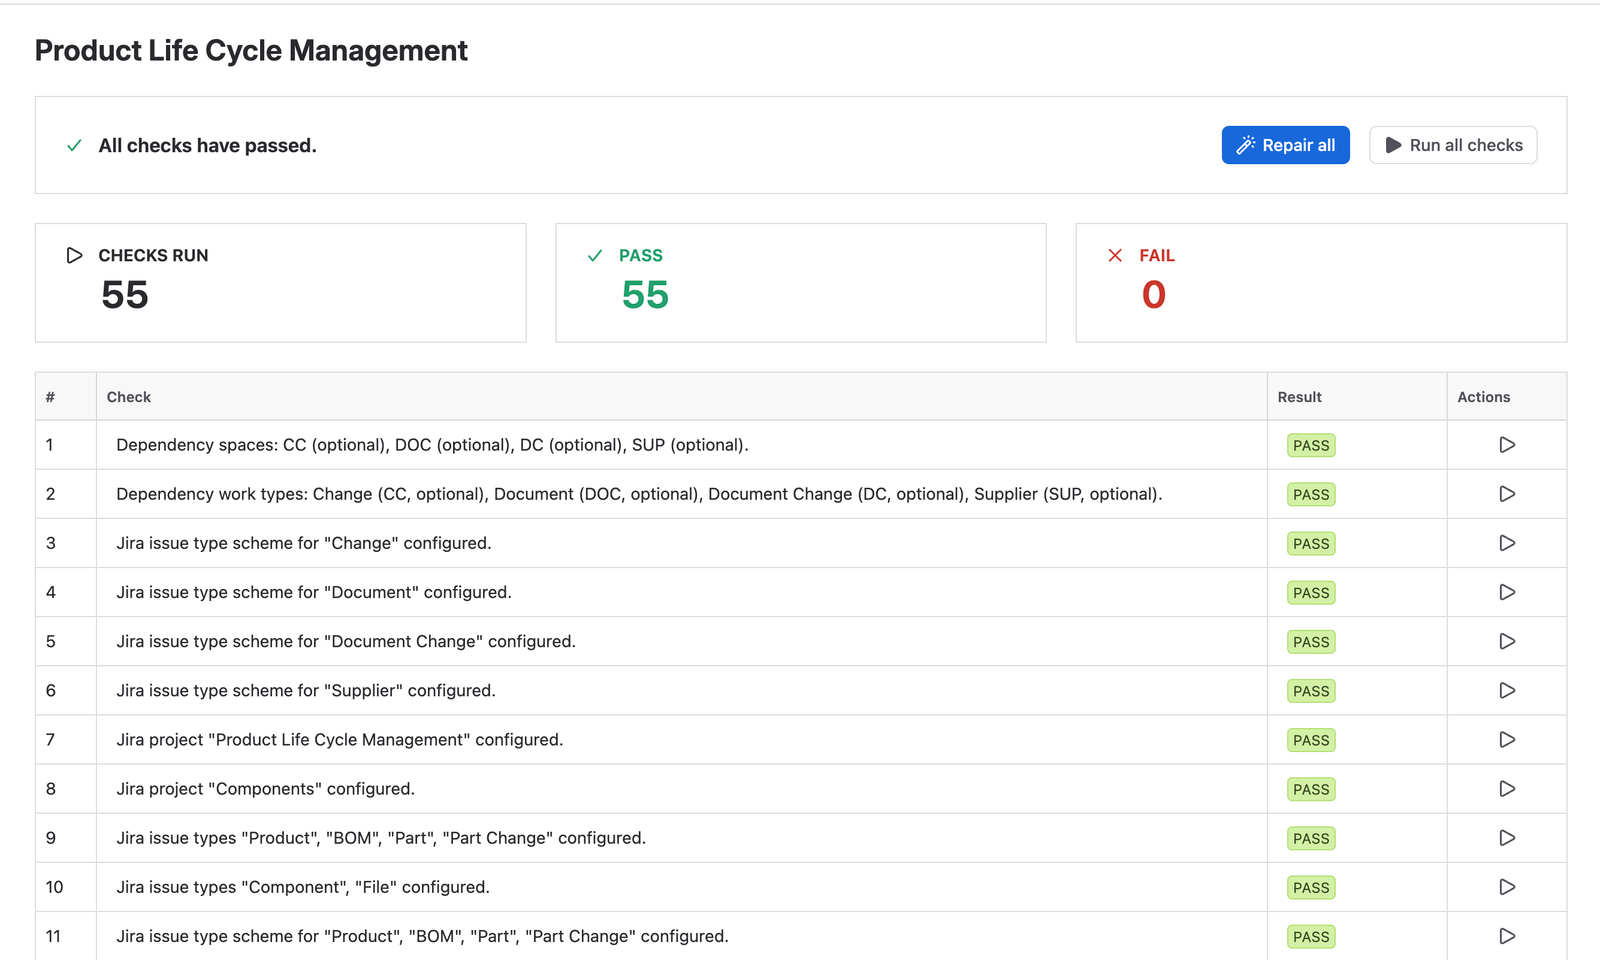
The Product Life Cycle Management health check with all 55 checks passed, listing the optional dependency spaces and work types first, then the spaces, work types, and schemes the app installs. - Rerun it at intervals to verify the configuration is still correct.
The health check is also available from the Marketplace apps section of the Jira admin, which is where you go to enable and verify the approval settings.
It runs 55 checks. The first two look for optional dependencies, and everything after that is configuration the app owns and will install for you.
| What it checks | Detail |
|---|---|
| Optional dependency spaces | Change Control, documents, document changes, and suppliers. All optional, so a site without them still passes. |
| Optional dependency work types | Change, Document, Document Change, and Supplier, each from the space that owns it. |
| The spaces it creates | The Product Life Cycle Management space and the Components space. |
| The work types it creates | Product, BOM, Part, and Part Change, plus Component and File, with the schemes that make them available. |
You do not create the Product Life Cycle Management or Components spaces by hand. The health check creates them if they are not already there, which is why running it is the first setup step rather than a verification you do afterwards. Other Qity apps that draw on product data point at those spaces, so creating your own by the same names will not do what you want.
Enable the product life cycle on a space
- Open the settings of the product development space.
- Go to Apps and select Product Life Cycle.
- Click enable in the settings section.
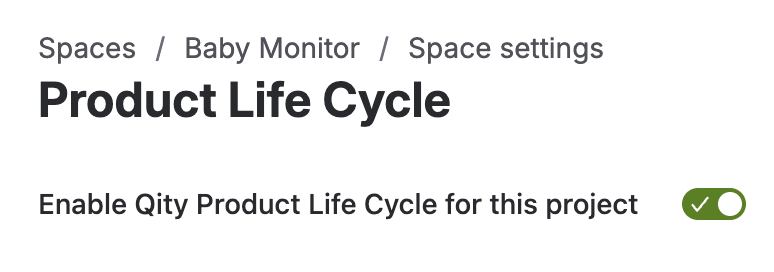
The Product Life Cycle section of a space’s settings, with the enable switch turned on. - Run the health check to configure the PLC checklists on that space.
Configure approvals
Approval settings let you define an approval flow per workflow. Fields set as user pickers name the people responsible for approving, and the item transitions automatically to the state the decision calls for. Enabling approvals populates the settings with defaults, which you can then edit.
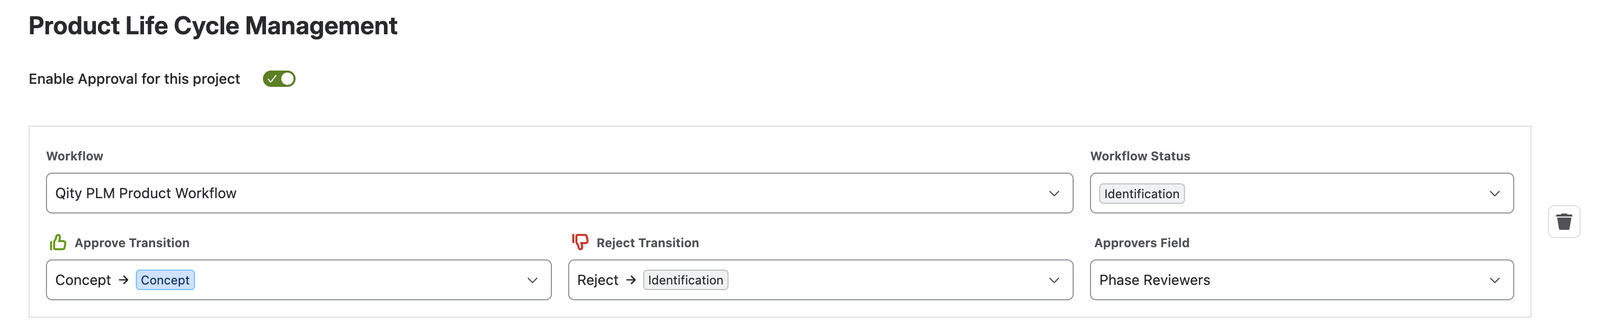
Qity recommends enabling the approval flow. Without it, a phase change or a part change moves on someone’s say-so rather than a recorded decision.
Assign the space roles
- Open the space access settings and find or add the user.
- Assign Product Data Administrator on the Product Lifecycle Management space.
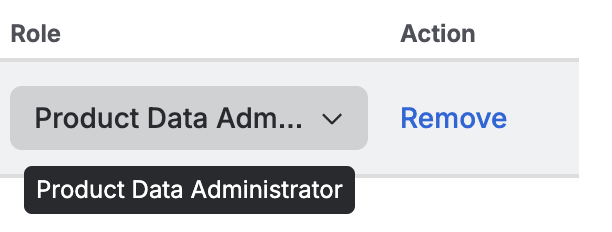
The Role column of the space People page, with a user set to Product Data Administrator. - Assign Procurement Engineer on the Components space.
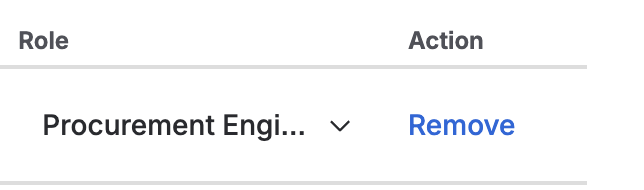
The Role column of the Components space People page, with a user set to Procurement Engineer.
| Role | What it can do |
|---|---|
| Product Data Administrator | Install and reconfigure the space, manage schemes, delete work items, and bypass transition conditions. Administers product data, user access, and data quality across the lifecycle. |
| Procurement Engineer | Create and edit records, assign reporters and assignees, and move records through the workflow. Owns sourcing, evaluation, qualification, and procurement of components and files. |
Product Data Administrator can bypass transition conditions. That is the role that can move a part change without the approval a transition would normally demand, so grant it to the people who administer the system, not to everyone who works in it.
Reach the global view
In the Jira sidebar, open Apps and select Product Data. That is the site-wide view of every product, bill of materials, part, part change, component, and file, and it is where most of the guides start.